The digital age has opened up endless opportunities for individuals to share knowledge and earn money doing so. One of the most effective ways to achieve this is by creating and selling online courses. Whether you’re an expert in photography, coding, yoga, public speaking, or any other subject, you can build a profitable course that people want to buy.
However, success in the online education world requires more than just creating a course. You need a clear strategy to market, sell, and scale it. In this detailed guide, we’ll take you through the entire process step by step from choosing your topic to making your first sale and beyond.
Step 1: Decide What You’ll Teach and Who You’ll Teach It To
Every successful course starts with clarity: what will you teach, and who will benefit the most from it? Without a defined topic and target audience, your course may get lost in the sea of online content.
Ask yourself:
- What am I truly good at?
- What do people often ask me for help with?
- Is there a gap in the market I can fill?
Try to choose a niche that blends your expertise with audience demand. For instance, instead of a general “fitness” course, create something like “Home Workouts for Busy Moms” or “Strength Training for Beginners Over 40.”
Step 2: Design a Course Structure That Delivers Real Results
Now that you know your topic and audience, plan out your course in detail. Your learners are looking for transformation, so every module and lesson should guide them closer to their goal.
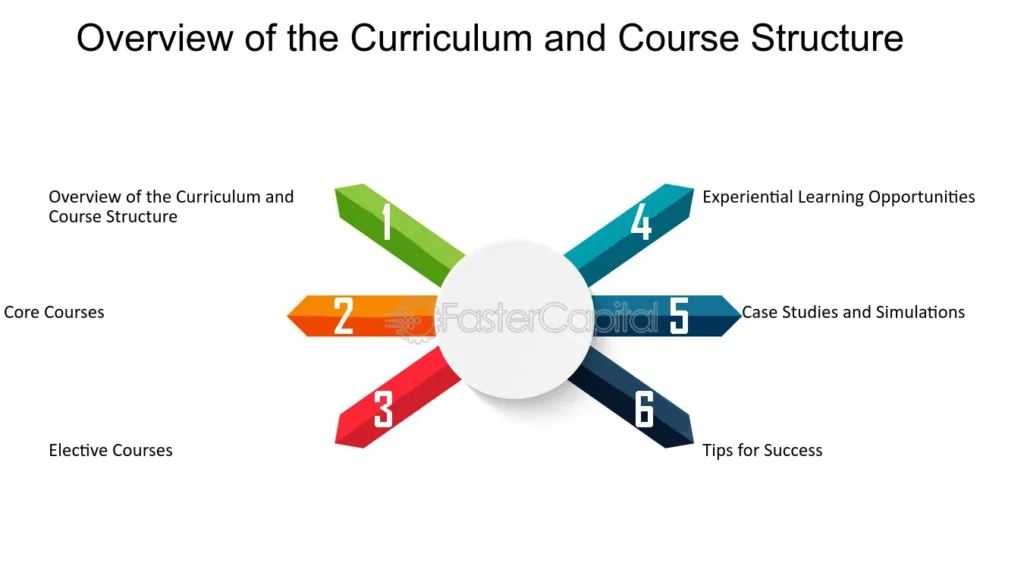
Create an outline that includes:
- A clear course objective (What will they achieve?)
- A list of main topics or modules
- A breakdown of lessons in each module
- Exercises, checklists, or resources for engagement
Use simple tools like Google Docs, Notion, or Trello to stay organized during this planning stage.
Step 3: Create Engaging and High-Quality Course Content
With your structure in place, it’s time to bring your Online course to life. Don’t worry if you’re not a video production expert modern smartphones, basic microphones, and good lighting are often enough to create professional-looking content.
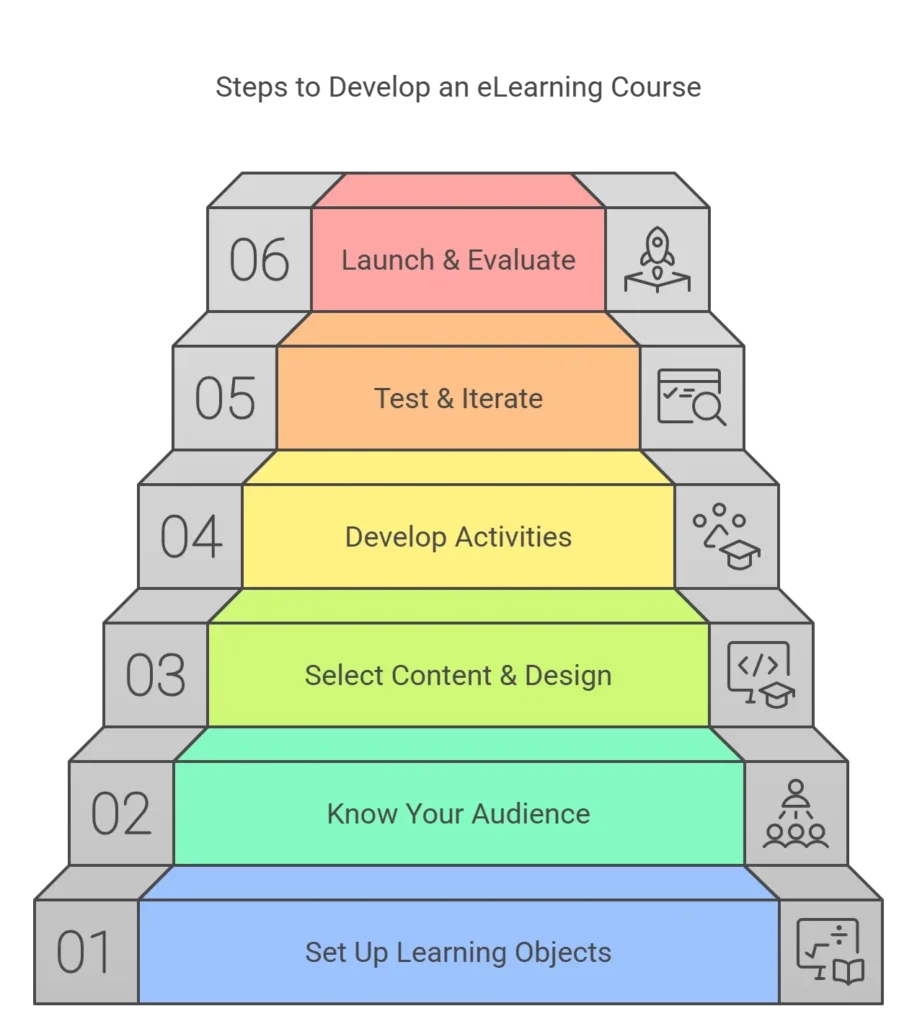
Tips for content creation:
- Record in a quiet space with minimal background noise
- Keep videos short and focused (5–10 minutes per lesson is ideal)
- Mix different formats: screen recordings, talking head videos, slideshows
- Use free or affordable editing software like Shotcut, OBS, Camtasia, or DaVinci Resolve
Above all, keep your delivery clear, confident, and learner-friendly. Speak as if you’re talking directly to one student who needs your help.
Step 4: Select the Right Platform to Host Your Course
Now you need to decide where your Online course will live. You have two major choices:
A. Online Marketplaces
Online Platforms like Udemy, Skillshare, or Coursera are great for reaching a large audience quickly. These platforms already have traffic and provide you with marketing tools. However, they also take a cut of your earnings and control pricing.
B. Self-Hosted Platforms
Online Tools like Teachable, Thinkific, or Podia allow you to host the course on your own branded site. This gives you full control over pricing, content, and customer data — but also means you’ll need to do your own promotion.
Choose based on your long-term goals. If you want brand control and higher profit margins, go with a self-hosted platform.
Step 5: Set a Smart and Competitive Price
Your course price should reflect both the value you’re delivering and the expectations of your target audience.
Here’s how to decide:
- Check what similar courses are charging.
- Avoid underpricing it may suggest your course isn’t worth much.
- Offer limited-time discounts or bonuses to encourage signups.
- Consider tiered pricing (basic access vs. premium with coaching, templates, or resources).
Don’t forget to clearly communicate the value learners will receive. People don’t pay for information — they pay for transformation.
Step 6: Build Your Online Presence and Brand Identity
Before people buy your course, they need to trust you. That’s why building your personal or business brand is essential.
Start by:
- Creating a professional website with your bio, blog, and course landing page.
- Writing helpful blog posts or making short YouTube videos related to your topic.
- Growing a following on platforms where your audience hangs out (e.g., Instagram, LinkedIn, YouTube, or Facebook).
- Collecting testimonials from past clients or early users of your course.
The stronger your online presence, the easier it becomes to market your course organically.
Step 7: Promote Your Course Strategically
Great content alone won’t sell your course visibility is everything. You need a clear marketing strategy to reach potential buyers.

Free Promotion Tactics:
- Start a blog on your website and publish SEO-optimized articles related to your course topic.
- Create a free lead magnet (like a checklist or mini-guide) to build an email list.
- Post regular tips, stories, or behind-the-scenes content on social media.
- Host free webinars or workshops to showcase your teaching style and pitch your course.
Paid Promotion:
- Use Facebook and Instagram ads to target specific demographics.
- Run Google search ads for relevant keywords.
- Collaborate with influencers or niche bloggers to reach their audience.
A mix of organic and paid marketing often works best.
Step 8: Get Feedback and Improve Constantly
Once your first few students enroll, your real learning begins. Ask them for honest feedback through surveys, email, or live discussions.
What to ask:
- Was the course content clear and easy to follow?
- Did it help them achieve the promised result?
- What could be improved?
Use this input to refine your videos, update resources, or even re-record parts. Continuous improvement will help you build a better course and generate better reviews and word-of-mouth.
Step 9: Add More Value Through Upsells and Bonuses
If someone has already bought and liked your course, they’re likely to buy more from you. This is where upselling comes in.
Offer:
- Advanced courses
- One-on-one coaching
- Downloadable templates or bonus modules
- Monthly memberships or community access
This not only increases your income but also helps your audience continue their learning journey.
Step 10: Scale with Systems and Automation
Once your course is validated and selling, you can scale it without burning out by automating parts of your workflow.
Use tools like:
- Zapier to connect apps and automate tasks
- ConvertKit or MailerLite for automated email sequences
- Calendly for booking calls or webinars
- Stripe or Razorpay for smooth payment processing
You can also hire virtual assistants or freelancers to handle customer support, video editing, or social media management giving you more time to focus on growing your business.
Selling an online course is one of the most rewarding ways to monetize your skills while helping others grow. It allows you to create impact at scale and build a sustainable income stream from anywhere in the world.
Here’s a quick recap of the journey:
- Choose a clear, in-demand topic
- Design a valuable, result-driven course
- Produce high-quality, engaging content
- Pick the best platform to host and sell
- Set a price that reflects your value
- Build trust with your audience
- Promote using organic and paid methods
- Gather feedback and iterate
- Upsell and add new offers
- Automate to scale your success
If you follow these steps with dedication and consistency, you won’t just sell a course you’ll build an online education business that lasts.
If you found this information helpful, don’t forget to subscribe to Zealimpact.com. We’ll keep bringing you more Online/tech-related Blogs like this one. Your support is our strength.
If you found this information useful, don’t forget to share it with your friends and family.

